Give Us A Call! : 18004767078
Give Us A Call! : 18004767078

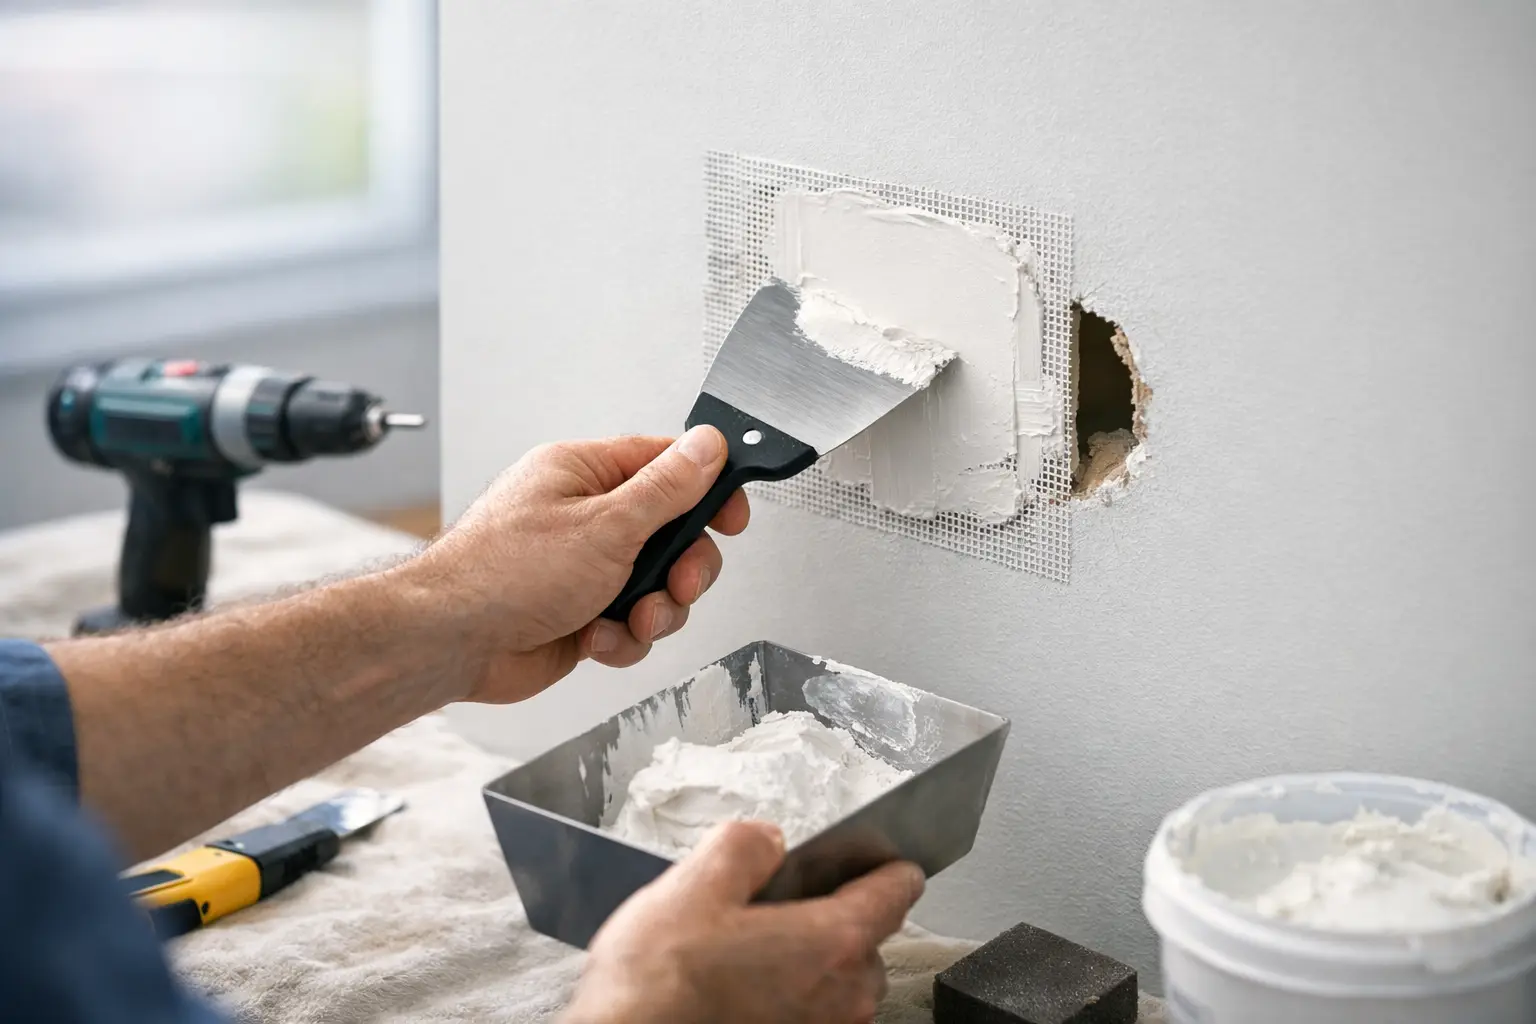
A small hole in drywall can make an otherwise tidy room look unfinished. Maybe a picture frame moved, a door handle hit the wall, or a tenant removed a wall-mounted shelf. The good news is that learning how to repair drywall holes starts with matching the repair method to the size of the damage. A nail hole needs a light touch. A fist-sized opening needs support behind the wall before it can look right again.
The goal is not simply to cover the hole. A proper repair creates a flat, stable surface that will not crack or show through after painting. Take your time with the sanding and drying stages, and the repair can blend into the rest of the wall.
Before reaching for spackle, look closely at the area. If the drywall is soft, stained, or crumbling, the hole may be the symptom of a moisture problem rather than an accidental impact. A leaking shower pipe, roof issue, window leak, or plumbing repair behind the wall should be addressed first. Patching damp drywall without correcting the source usually means doing the job twice.
Also check for loose drywall around the opening. Press gently around the damaged area. If the wall flexes, feels weak, or has cracks spreading out from the hole, cut back to solid material before patching. Covering damaged edges with compound may look fine for a few days, but it will not hold up well.
For homes with older painted walls, use extra care when sanding. If you suspect old lead-based paint, avoid dry sanding and follow appropriate safety practices before disturbing the surface.
Most small repairs do not require a truck full of tools. For common holes, you will typically need lightweight spackling or joint compound, a putty knife, fine-grit sanding sponge, a clean cloth, primer, and matching wall paint.
Larger holes may also require a drywall patch, self-adhesive mesh tape, drywall tape, a utility knife, a drywall saw, a backing board, drywall screws, and a wider taping knife. The wider knife matters more than many people realize. It allows you to feather compound well beyond the patch so the repaired spot does not leave a raised outline on the wall.
Put down a drop cloth before sanding or applying compound. Drywall dust has a way of finding dark floors, furniture, and nearby shelves.
Tiny holes left by nails, picture hooks, or small screws are the fastest to fix. First, remove any loose paper or broken gypsum around the hole. If a nail has popped out slightly, tap it below the surface with a hammer before filling. A proud nail head can push the patching material back out.
Apply a small amount of spackle with a putty knife, pressing it into the hole rather than just smearing it over the surface. Scrape away the excess so the repair sits nearly flush with the wall. Let it dry completely, then sand lightly until smooth.
One coat is often enough for a pinhole, but screw holes and deeper dents may shrink as the material dries. Apply a second thin coat if needed. Prime the repaired area before painting, especially if the wall has a flat finish. Primer helps prevent the patch from absorbing paint differently than the surrounding drywall.
A hole roughly the size of a golf ball up to several inches across often works well with a self-adhesive mesh patch. These are useful for accidental doorknob damage, small wall-anchor failures, and holes left after removing an old cable outlet.
Trim loose paper and jagged edges with a utility knife. The opening does not need to be perfectly round, but the surrounding wall should be clean and firm. Center the mesh patch over the hole and press it firmly into place.
Use joint compound rather than lightweight spackle for this job. With a 6-inch or wider knife, apply a thin coat of compound over the patch, extending a few inches past every edge. Keep the first coat thin. Heavy coats take longer to dry and are more likely to crack.
After it dries, sand off ridges and apply a second, wider coat. A third light coat may be necessary if the patch edge is still visible. Sand carefully after the final coat, wipe away dust, then prime and paint. In good lighting, stand to the side of the wall and look across it. Side lighting reveals shallow dips and raised edges that are easy to miss when facing the wall directly.
For holes larger than about 6 inches, a mesh patch alone usually is not strong enough. This is common after a plumbing repair, a damaged section near a stairwell, or a hard impact from moving furniture. The dependable method is to install a new piece of drywall supported by wood backing or framing.
Start by cutting the damaged area into a neat square or rectangle. This may feel counterintuitive because the hole gets bigger, but straight edges make a stronger, cleaner repair. Use a drywall saw and work slowly. If the opening is near switches, outlets, or plumbing, turn off power to the area when appropriate and stay alert for wires or pipes behind the wall.
Slide two short wood boards into the opening, one behind each side of the cutout. Hold them tight against the back of the existing drywall and drive drywall screws through the wall into the boards. Leave enough of each board exposed inside the opening to support the new patch.
Cut a piece of drywall to fit the opening with a small gap around the edges. Screw it to the backing boards until the screw heads sit just below the surface without tearing the paper face. Cover each seam with drywall tape, then apply joint compound over the tape and screw heads.
This repair takes patience because it needs multiple coats. The first coat fills and bonds the taped seams. The second coat spreads wider to flatten the transition. The final coat is feathered even farther out for a smooth finish. Let each coat dry fully before sanding and adding the next one. Rushing this step is one of the most common reasons a repair looks lumpy.
A wall patch can fail even when the hole is filled. Thick compound, skipped drying time, and narrow feathering are frequent problems. Thin coats are easier to control and create a flatter surface. They may take an extra day, but they save time compared with trying to sand down a thick, uneven mound of dried compound.
Do not sand aggressively over the edges of a patch. If you tear the drywall paper, the area can become fuzzy and difficult to finish. A light touch with a fine sanding sponge is usually enough. Vacuum or wipe away dust before priming so it does not interfere with paint adhesion.
Paint matching can be another challenge. Even when you have the original paint color, repaired walls can appear different because of sun fading, sheen differences, or uneven texture. If the touch-up is noticeable, painting the full wall from corner to corner usually gives the most consistent result.
Small holes are a reasonable weekend project. Larger damage, repeated cracking, water stains, and repairs close to electrical boxes are different situations. The same is true when several rooms need patching before a move-out inspection, a rental turnover, or a home sale. At that point, buying materials, sanding for hours, and trying to match texture may not be the best use of your time.
Homeowners and landlords in the Silver Spring area can turn to Handyman Services Silver Spring MD for drywall repair, painting, and the related fixes that often come with wall damage, such as shelving removal, carpentry work, or minor plumbing access repairs. A professional can patch the opening, feather the finish, and help the wall look like the damage was never there.
A repaired wall does not have to be a reminder of a rough move, a slammed door, or an old project that got away from you. Give the compound time to cure, look at the surface in natural light, and do not settle for a patch that only looks good from across the room.

A single cracked bathroom tile…

A garage is often where…

A light that flickers every…

A kitchen can look dated…

A commercial door can look…

Contact Number
18004767078

Email ID
[email protected]